The three decisions that determine whether calligraphy practice actually improves your hand are the tool, the x-height you rule your lines at, and whether you're copying shapes or drilling strokes. Get those right and daily practice compounds; get them wrong and you spend months training inconsistencies you'll have to unlearn later. Everything below is about making those three choices deliberately rather than by accident.
Pick the tool for the script, not for the aesthetic
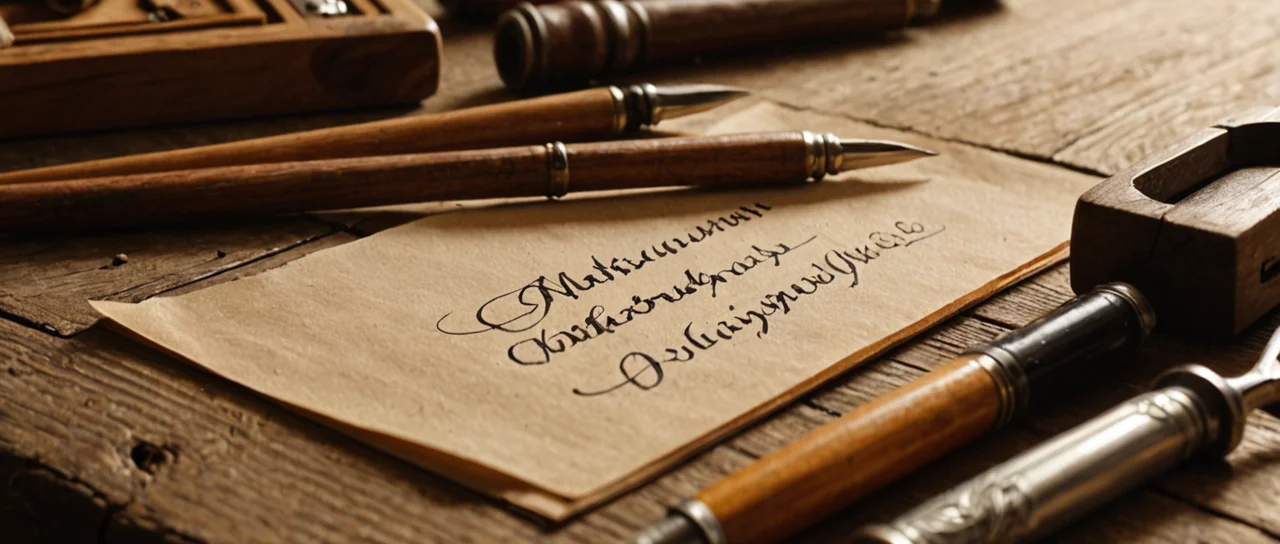
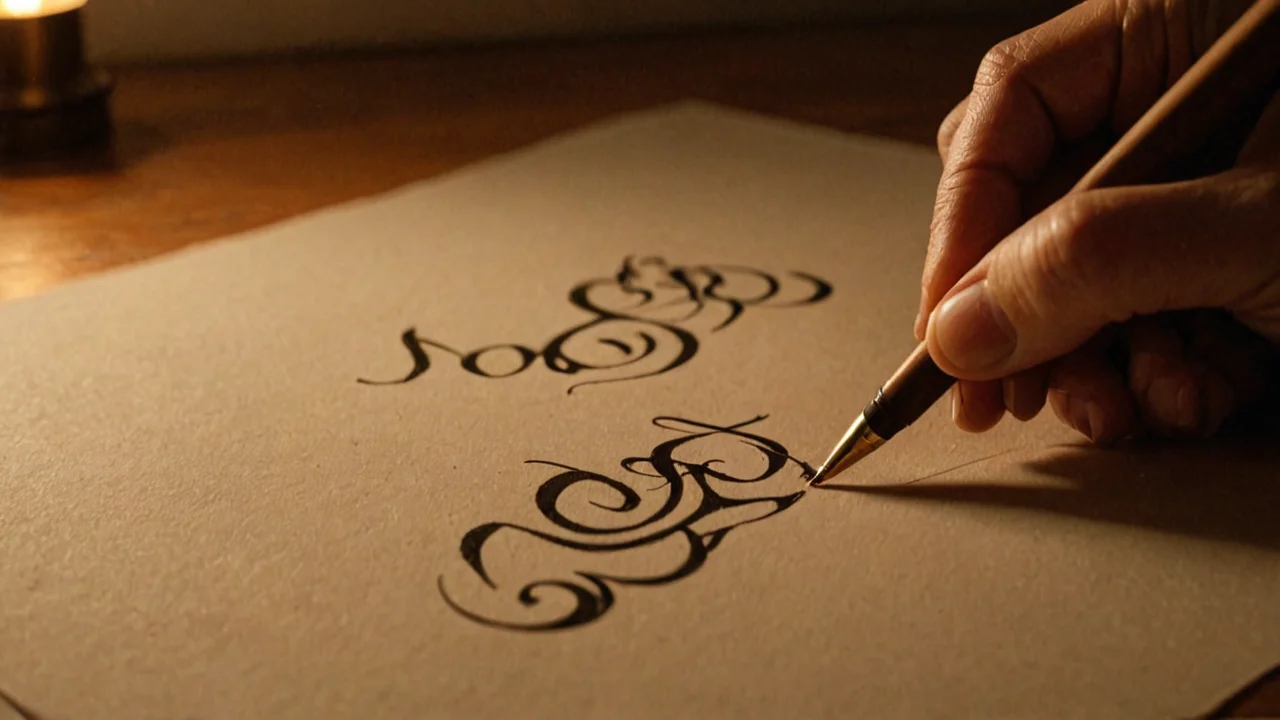
A pointed flexible nib is for scripts where line width changes with pressure — Copperplate, Spencerian, Engrosser's Script. A broad-edged nib or a square-cut brush is for scripts where line width changes with the angle of the tool — Italic, Foundational, Blackletter, Roman capitals. A pointed brush is for Chinese and Japanese calligraphy, where the tip tapers and the stroke width comes from how the hairs splay under pressure. Buying a pointed dip pen to learn Italic is the most common beginner tool mistake, and you notice it immediately: your thick strokes land in the wrong places no matter how carefully you form the letter, because the tool cannot make a thick vertical and a thin horizontal at the same nib angle.
Within each family, the size of the tool sets the size of your writing. A broad nib cut at 2 mm, 3 mm or 4 mm produces a different x-height for the same number of nib-widths per letter — Italic is conventionally built at about five nib-widths of x-height, so a wider nib pushes your letters larger whether you want them larger or not. Chinese brushes are sold as large, medium and small, with standard hair lengths of 2–4 cm across those sizes; a large brush for a 10 cm character is a different tool from a small brush for a 2 cm character, and using the wrong one shows up as either a cramped stroke or a stroke that runs out of ink mid-turn.
The trade-off is that a proper tool for each script means more than one purchase, and the good versions are not cheap. The alternative — one pen for everything — costs you the feedback loop that makes practice work. A flexible nib tells you when your pressure is uneven because the line wobbles visibly; a broad nib tells you when your pen angle has drifted because the thin strokes thicken. A ballpoint tells you nothing, which is why practice done with one rarely transfers to the script you actually want.
Paper matters less than the tool but not by much. Coated or sized paper lets a broad nib glide and keeps a pointed nib from catching on fibres; unsized paper bleeds ink and feathers your hairlines, and beginners routinely blame their hand for what is a paper problem. For brush work, absorbent rice paper is the point — the ink spreading into the fibre is part of the stroke — but the same paper under a metal nib is a disaster. Match the paper to the ink delivery, not to how it looks on the shelf.
Rule your lines at an x-height you can actually control
Start at 6–7 mm x-height if you are a beginner, whatever the script. That is the commonly recommended beginner range, and it sits comfortably inside the 3–8 mm spread that practice sheets are typically sold in. Small enough to keep your hand relaxed, large enough that you can see what your tool is doing.
The reason to start large is feedback. At 3 mm, a wobble in a thin stroke is a fraction of a millimetre and your eye can't reliably catch it; at 6–7 mm the same error is twice as visible, so you correct it before it becomes habit. The reason not to start enormous is control — a 10 mm x-height with a small nib forces you to draw letters rather than write them, and drawing slows you down enough that you stop practising rhythm, which is most of what you're actually trying to build.
Once you've settled on an x-height, the ascender and descender proportions are script-specific and worth getting right from the first sheet rather than fixing later. Italic and Foundational practice commonly uses a 5 mm x-height with a 1:2:1 ascender-to-x-height-to-descender ratio — the ascender and descender are each half the x-height, which gives the compact, upright proportions those hands depend on. Copperplate practice commonly uses a 3 mm x-height with a 1:3:1 ratio, so the ascender and descender each run a third of the x-height. Those ratios are not decorative; they set where your eye expects the letter to sit, and a Copperplate word written at Italic proportions looks squat and wrong even when every individual stroke is correct.
Ruling your own lines is worth the ten minutes it takes, because pre-printed sheets lock you into one size and one script's proportions. A pencil line and a ruler on layout paper gives you the baseline, waist line, ascender line and descender line at whatever spacing you choose, and you can erase or ignore them as you improve. The cost is time and the temptation to skip it on a busy day — which is exactly the day you should be drilling strokes instead of free-writing, since free-writing without lines at the start teaches you to eyeball proportions you haven't yet learned.
A word on what x-height actually is, because the term gets used loosely: it's the height of the lowercase letters without ascenders or descenders — a, c, e, m, n, o, x — measured from the baseline to the waist line, and it's the fundamental unit of layout for a given script. Every other measurement on the page is expressed relative to it. When someone says "write at five nib-widths," the nib width is being used as a proxy for x-height.
Drill strokes before letters, and letters before words
Spend your first weeks on the strokes that make up the script, not on the alphabet. For pointed-pen work that means push-pull exercises on the basic strokes — the overturn, the underturn, the compound curve — until your pressure change happens at the same point in the stroke every time. For broad-edge, it means straight strokes at a fixed pen angle, then curved strokes, until the angle holds without you watching it. For brush, it means the individual strokes of the character system, each with its own entry, press, turn and exit.
The reason is that a letter is a sequence, and a sequence hides its errors. If your compound curve is inconsistent, the letter n will look slightly wrong in a way you can't diagnose; if you drill the curve alone, the inconsistency is the whole visible output and you fix it in an afternoon. Letters come next, then short words, then a line, then a paragraph — each step adds a variable, and adding variables before the previous ones are stable just means you can't tell which one broke.
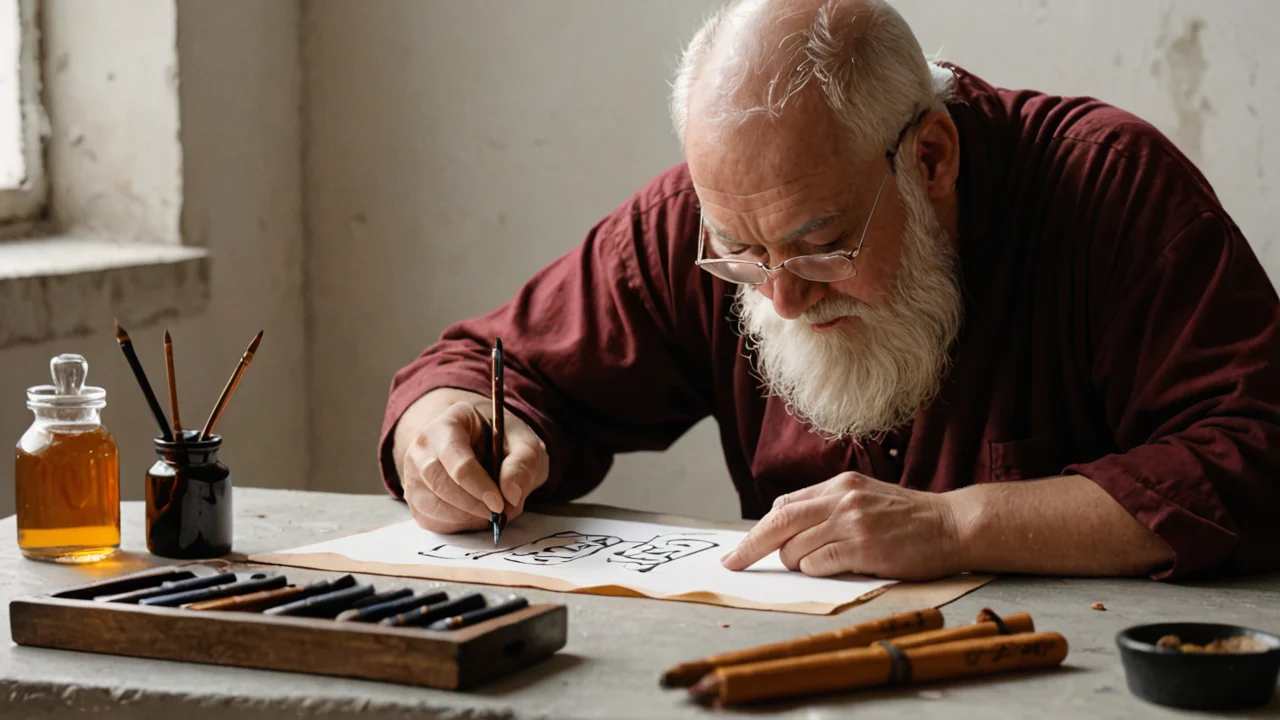
Stroke order is the equivalent discipline in Chinese calligraphy, and it is not optional. Stroke order is the prescribed order and direction in which the individual strokes of a character are written — it defines how the brush moves to form the character, and it determines where the brush is loaded with ink at the start of each stroke and where it lifts at the end. Write a character in the wrong order and the strokes won't connect the way the script expects; the ink runs dry at the wrong moment and the joins look pasted on. Copying a finished character shape without the order is drawing, not calligraphy, and it caps out quickly.
The cost of drilling is boredom, and it's real. Most people quit in the stroke phase because it feels like a prerequisite rather than the thing itself. The honest counter is that stroke drills are the only practice where you get immediate, unambiguous feedback on the one variable you're working on — and that feedback is what makes the later, messier practice productive.
Copy a model, but copy it for the right thing
Work from a single good model of the script you're learning, at the size you're writing, and copy it slowly enough that you can name what each stroke is doing. The mistake is copying for the finished shape — tracing the outline and filling it in. The thing you're copying is the sequence: where the pen lands, how much pressure it carries, where it turns, where it releases. Two people can produce identical-looking letters, one by writing and one by drawing, and only one of them can do it again at a different size.
Choose a model at your x-height or one step larger. A model in a book printed at 3 mm, copied at 7 mm, forces you to understand the stroke rather than match its pixel dimensions — and understanding is what transfers when you later drop to the smaller size the script is normally written at. Copying at exactly 1:1 encourages shape-matching, which feels productive and isn't.
Photocopying and enlarging a model to your working x-height is the cheap version of this, and it's worth doing rather than squinting at a small original. What you lose is the original's ink behaviour — a photocopy flattens a flexible nib's thick-to-thin into a uniform black — so use the copy for proportion and the original for stroke weight. If you can only have one, take the original and rule your own lines beside it.
The limit of model-copying is that it doesn't teach you why the letters look the way they do. At some point you need the ductus — the stroke sequence and pen angle for each letter — or you'll be able to reproduce the model and nothing else. That's the point at which a good instructional text earns its price.
Practise in short, frequent sessions with one variable at a time
Fifteen to twenty minutes daily beats two hours on a Sunday, and the reason is motor learning rather than virtue. Short sessions let you end while your form is still good; long sessions end with you tired and sloppy, and the sloppy repetitions are the ones that stick. If you only have one long block a week, split it into several short sittings with a break between, rather than one continuous grind.
Change one variable per session. If you're working on pen angle, keep the x-height, the paper and the script fixed and change nothing else. If you're working on x-height control, keep the tool fixed. The temptation is to buy a new nib, try a new paper and move to a new script in the same week, and then you have no idea which change helped. The cost of this discipline is that progress feels slow and unvaried; the benefit is that when something improves, you know why, and you can reproduce it.
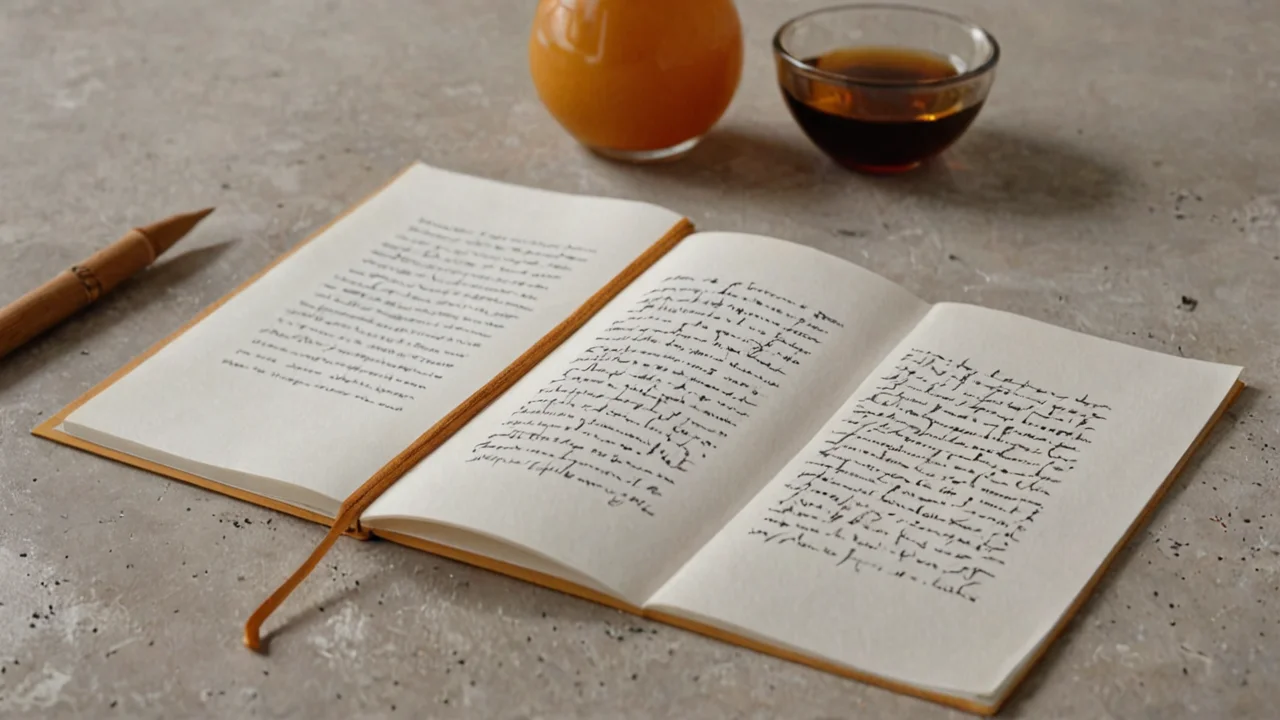
Keep your practice sheets. Date them. The single most useful thing you can do after a month is lay this week's sheet next to the one from four weeks ago at the same x-height with the same tool — the improvement is often invisible day to day and obvious across a month, and seeing it is what keeps you going through the plateau where nothing seems to change.
Stop a session when your form degrades rather than pushing through to a target number of lines. The last five minutes of a tired session are the ones your hand remembers, and they're the ones where the pen angle drifts and the pressure wobbles. Ending early is not laziness; it's protecting the repetitions you've already paid for.
Know when the tool is the problem and when it isn't
If your hairlines are ragged, check the paper before you check your hand. If your thick strokes are in the wrong place, check the nib type and pen angle before you check your pressure control. If your letters are the wrong size, check your ruled lines before you check your eye. Most early problems are setup problems, and the fastest diagnostic is to change one piece of equipment and see whether the fault moves with it.
The signs that it genuinely is your hand: the error is inconsistent in the same direction (always too much pressure at the start of a downstroke), or it appears only when you speed up, or it disappears when you slow down. Those are motor patterns and they respond to drilling. The signs that it's the tool: the error is systematic across every letter (all thicks thin, all thins thick), or the ink won't behave regardless of speed, or the nib catches on the paper no matter how lightly you write. Those are equipment and they respond to a swap.
Resist upgrading tools as a substitute for practice, but don't endure a tool that's actively teaching you wrong. A nib that's too stiff for Copperplate will teach you to press harder than the script wants, and that habit is expensive to undo. A brush that's too large for the character size will teach you to write with the belly of the brush rather than the tip, and that's the defining error of brush calligraphy. The judgement call is whether the tool is merely modest or actively misleading — modest tools are fine to learn on, misleading ones aren't.
One last thing worth budgeting for: the model, the paper and the tool all cost money, and the order to spend it in is tool first, paper second, model third. A good nib on cheap paper will still teach you pressure control; a cheap nib on good paper will teach you nothing but frustration. The tool is the thing that gives you feedback, and feedback is the whole mechanism by which practice works.